
Hurry Hurry Hurry! Slip Backstage and Meet The One And Only Jordan Kotzebue!
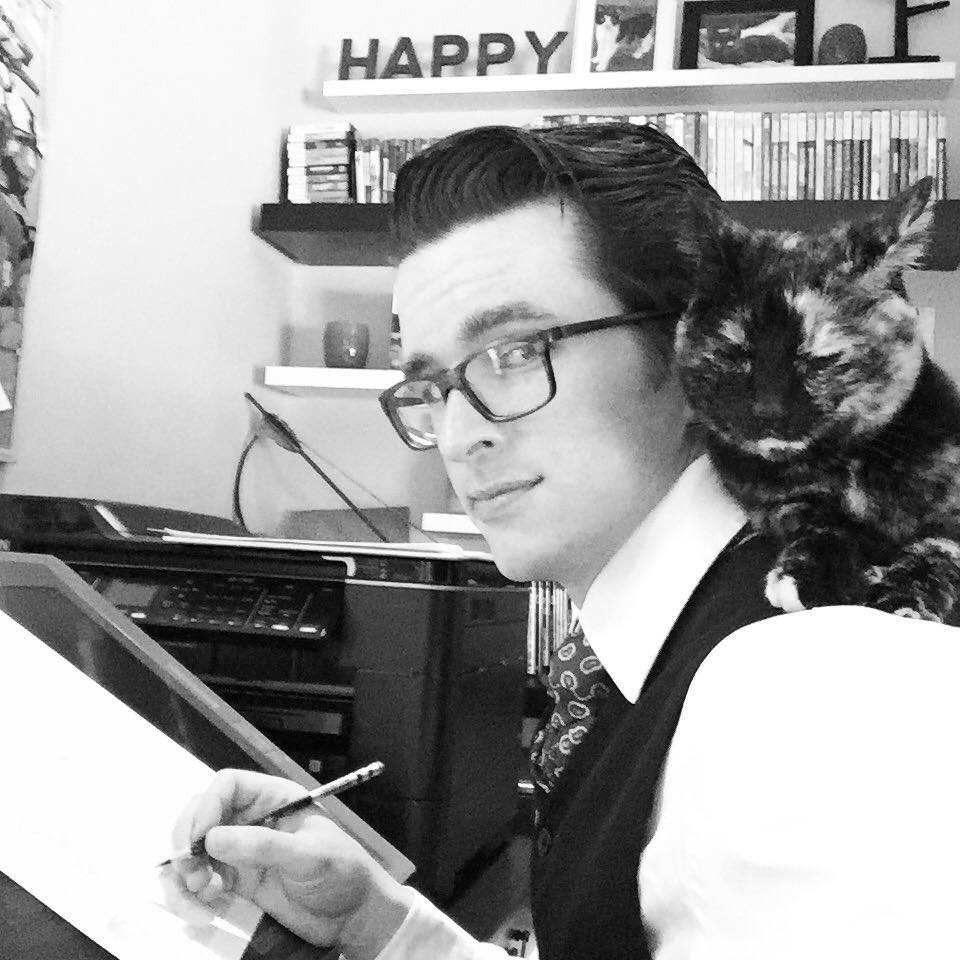
So Jordan, tell us about yourself?

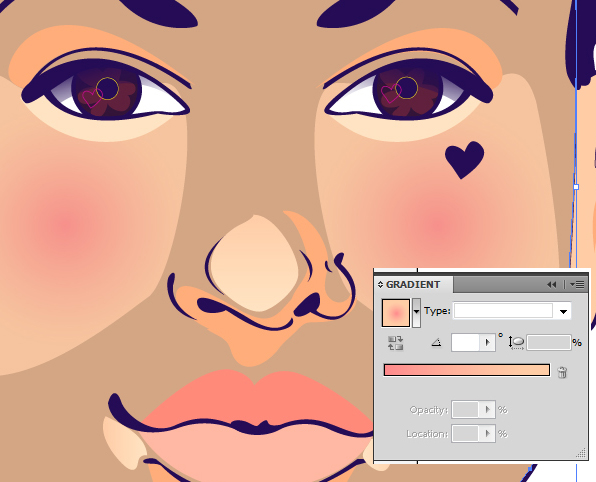
I've been a professional artist/animator for the past fourteen years. I am currently working with PopCap Games as an art director on the critically acclaimed “Plants vs Zombies Heroes”. In addition to the day job, I've also done freelance. Most notably, work for DC Comics and Aspen Comics, doing pencils on the hit TV series “Heroes” online comic book. I started Hominids about six years ago when I realized how much I needed to make a comic that was all my own and wasn't beholden to someone else.
Main Projects
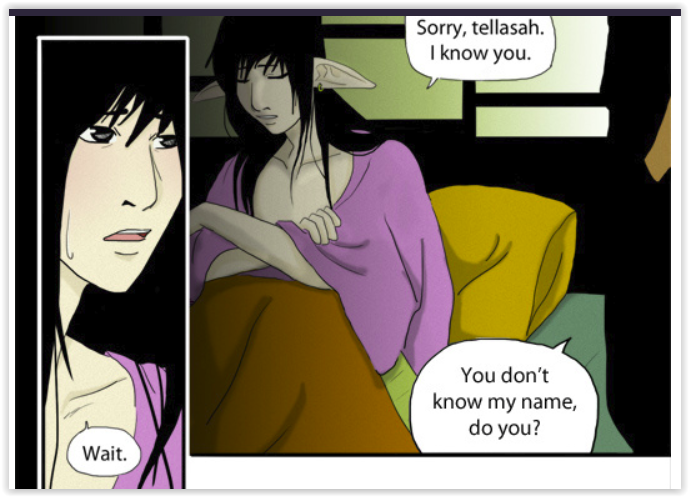
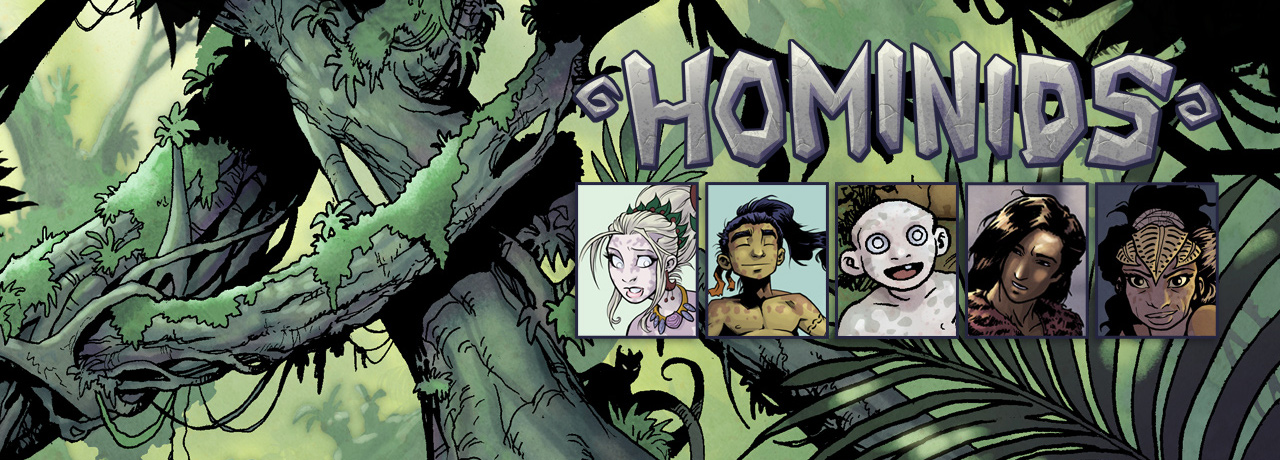 Hominids
http://hominidscomic.com/
https://www.facebook.com/hominidscomic/
https://twitter.com/HominidsComic
https://www.patreon.com/hominids
Other Hobbies, Guilty Pleasures and Obsessions
So, tell me about your early experience. How did you fall in love with telling stories in pictures?
 What media and programs do you work in to produce your project?
Can you tell me about your typical day or strip-creation session? How does your work process flow from idea to finished page?
With a full-time job, I give myself a full week to do a page. I usually have the current issue all thumbnailed. Then I'll do the layout in Photoshop before printing it in blue line. I then have the freedom to pencil it wherever I like. Sometimes I'll sit in front of the television or go to a coffeeshop and noodle away at it. It sort of depends on the week. The largest chunk is done on the weekends. I like to have my page finished by Sunday night so I can post it early to my patrons at Patreon. Then my regular updates are on Tuesday.
What’s the most difficult part of your work?
There is an amazing amount of biological, ethnographic and anthropological research in your comic.
Can you tell us about your research process and your resources?
When the idea to do this comic first popped in my head, I was listening to a science podcast about Neanderthals. They talked about how Neanderthals had brains slightly larger than our own. This didn't mean they were smart necessarily but it did mean they were not the big, dumb cavemen that we often think of. I thought it would be so cool to tell a story centered around them. So I read everything I could about them and any other hominid species I could. I get notifications on all the latest research and if I can, I'll try and fit it into the story. Neanderthals had red hair. Cool, I'll put that in the book. Humans have Neanderthal DNA in them which means they mated. Great! There's some clever ways to put some romance in the book. I don't really have any single source. In my email I just set up notifications for whenever certain keywords are mentioned on the internet. This helps keep me current with any prehistoric science.
I didn't want any one culture to inspire my characters. Partly because I'm dealing with other species, so I didn't want to be insensitive to anyone. Instead I pulled different things from different places where it might feel appropriate to jungle living. The Mosuo people of Southwest practice spend their lives with many lovers and the women in particular hold the majority of the power. This felt like the exact opposite of our culture that I thought it would be really interesting to explore that aspect of tribal life.
Surviving and thriving in a world that wants to kill you at every turn. I love the fact that there was a time and a place on our planet where there were multiple advanced people fighting for the top of the food chain. It's like Lord of the Rings, but without the magic. And they really existed!
Can you tell me about your storytelling process? Do you prefer to script your stories, fly by the seat of your pants, or somewhere in between?
There's a bit of both. I have the story outlined and I know the flow all the way to the ending. I only write final scripts an issue ahead though. I don't like having everything finalized years in advance because I never know if a minor change will uproot the story. I want to learn from my characters as I write and draw them. Sometimes I'll draw an expression that I wasn't expecting but that I like much more and I'll go with it. That can means the characters is reacting differently for the entire scene! By the time I'm ready to write the next issue, I've learned some things and I come at it with a fresh perspective.
I try my best for about 10 pages but that buffer usually whittles down pretty quick and I lose my buffer altogether. So I do some late nights to get my new page out on time.
If you could send a note back to yourself when you began working on your skillset, what would you say?
Don't be afraid to edit. Cut the stuff out you don't need. Think about your theme all the time.
Stick to doing new and exciting things with the things you are good at. The things you need to learn from scratch, like building a website and marketing yourself, stick to the basics. It's all new to you anyways.
Culture is learned behavior. We can always change ourselves to make us better without disrespecting that culture.
The ending. Gotta tell that ending. Otherwise, I'll never get it out of my head.

What cultures inspired the races in your work?
What inspired you about the historical groups you drew inspiration from?
Can you tell me about your storytelling process? Do you prefer to script your stories, fly by the seat of your pants, or somewhere in between?
There's a bit of both. I have the story outlined and I know the flow all the way to the ending. I only write final scripts an issue ahead though. I don't like having everything finalized years in advance because I never know if a minor change will uproot the story. I want to learn from my characters as I write and draw them. Sometimes I'll draw an expression that I wasn't expecting but that I like much more and I'll go with it. That can means the characters is reacting differently for the entire scene! By the time I'm ready to write the next issue, I've learned some things and I come at it with a fresh perspective.
How much of a buffer do you like to keep?
If you could send a note back to yourself when you began working on your skillset, what would you say?
Don't be afraid to edit. Cut the stuff out you don't need. Think about your theme all the time.
Stick to doing new and exciting things with the things you are good at. The things you need to learn from scratch, like building a website and marketing yourself, stick to the basics. It's all new to you anyways.
What message do you hope readers take away from your work?
What keeps you devoted to telling the story you’re telling?